Tuesday, April 19, 2011

Cool Cat Sweater

On my last visit to the thrift store, I came across this cool cat sweater. On the rack I was pleased and when I did a once over for holes/stains...I found the awesome!

A green cat on the back! I want to wear this sweater now and forever.

Monday, April 11, 2011

Layer It by Ear-Part 3

Fiskars' has an amazing array of craft supplies. Today, I've chosen to take their circle paper punch and try to do a little something out of the ordinary with it. Take a look.

Punching circles from various colors of cardstock, I then glued the circles one on top of another (*circle, glue, circle, glue, circle). After a stack of six circles, I applied a constant pressure and let dry. After drying, the tower is ready to cut in to. Designs are one of a kind and very tempermental to pressure, angle and slides of hand. After I got my desired look, I added varied embelishments to compliment the paper work. Earring hooks were added, the craft is very wearable.


*All cuts are made with the detail tool, and the partial holes were made using the craft hand drill.

Sunday, April 10, 2011

Wearing School Spirit-Part 2

School spirit runs strong in the small town I live in. So, when I noticed my athletic wear was hardly communicating, "Number #1 Fan", I knew I had a problem. I could have gone and purchased another carbon copy tee, but that's no fun. I wanted something that conveyed MY spirit for the school. And, that is why I decided to fashion my own "trendy" headband.
The headband would need to cover the three elements: sass, spirit and SEQUINS. As I began to design, I realized I could add one more element- the switcheroo. Yep, at some point even the most dedicated fanatics return to their civilian lives. Hence, the creation of the school spirit handband...cover.
This project is a quick DIY and very kiddo friendly. You take your standard, plain headband and measure it from end to end. I used a 1/4 in. width headband, but you could make a cover for almost any width headband. Once you have your measurements, add your seam allowances (a quarter inch to the width, and a half inch to the length). Transfer new adjustmest to colored felt and use your Fiskars scissors to cut the pattern out.
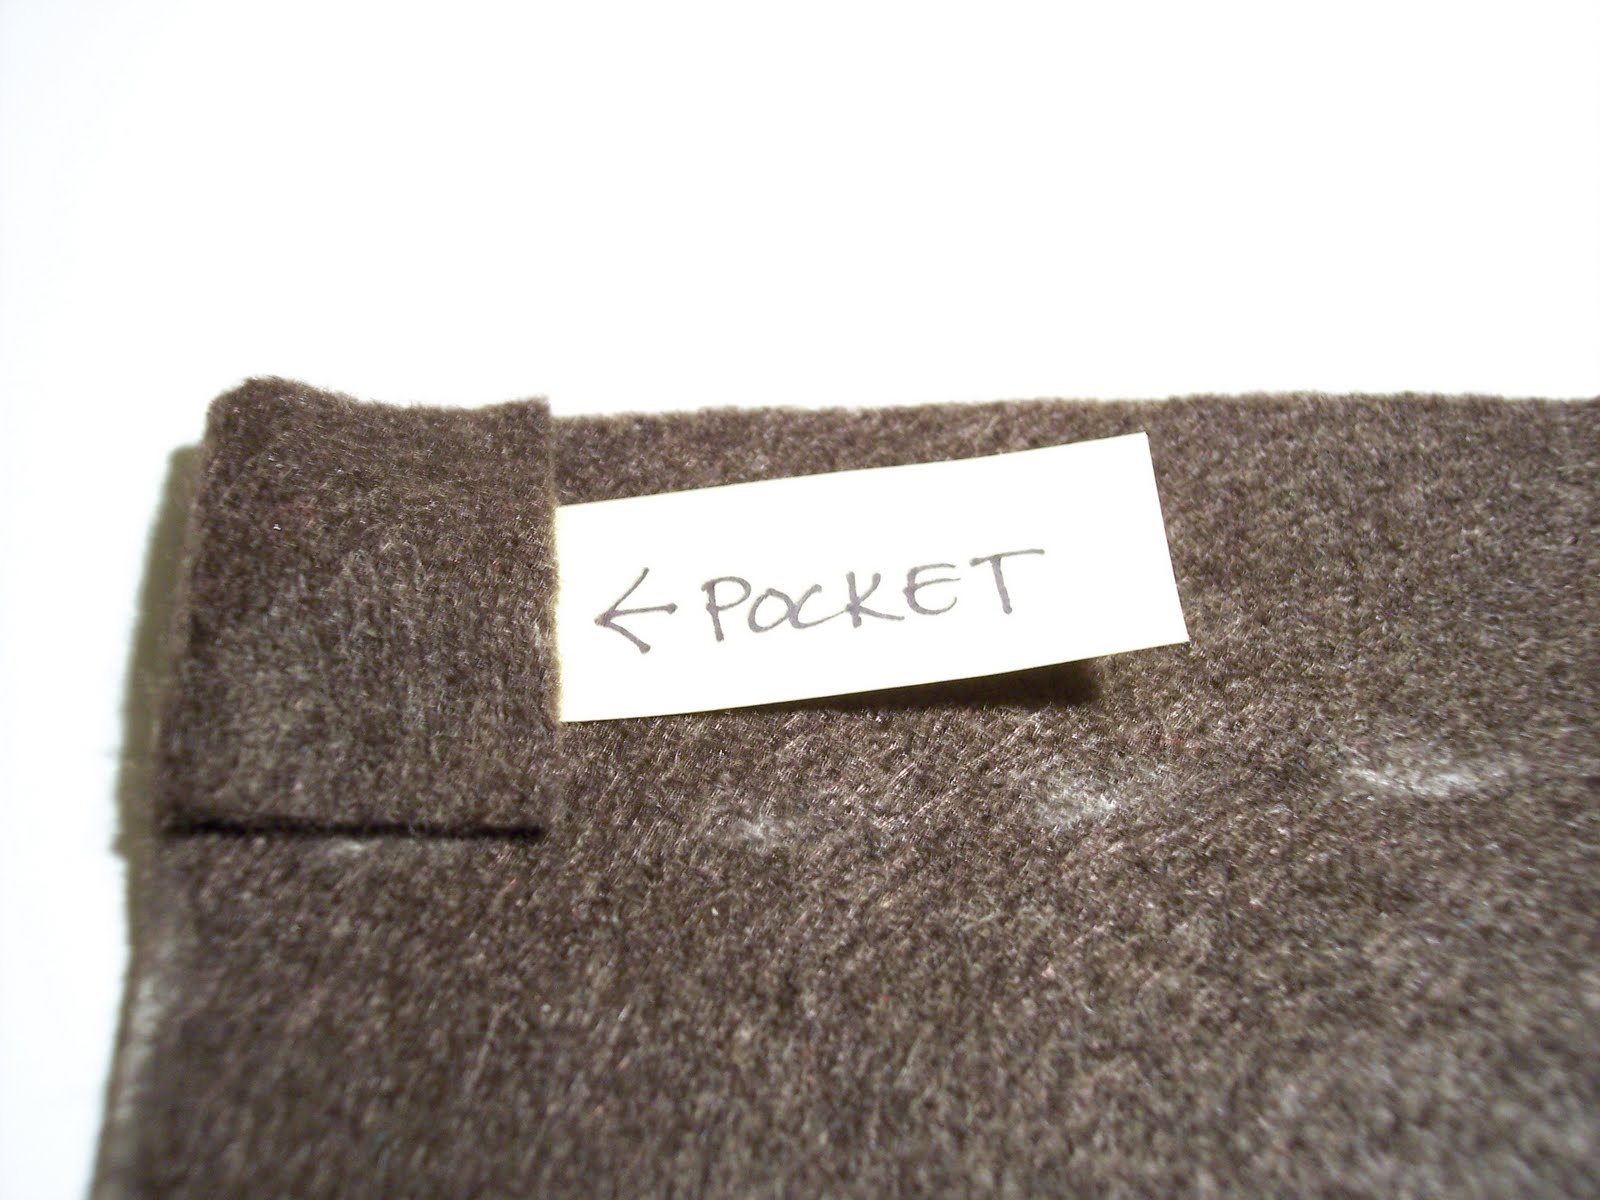
You will notice from the pictures below that I included a small pocket at one end of the cover (this is to keep the headband in place during wear).

Glue remaining edges (excluding the pocket side). I used fabric paint to write with and my Fiskars fingertip tweezers made adding sequins a breeze.


The covers slip on and off easily. You can make matching covers for your friends and family or make covers to match your outfits, there are endless possibilities. One of the better options is wearing the cover alone! Once you cross the ends and safety pin the middle, you have a great spirit pin!

Friday, April 8, 2011

A Useful Mother's day card- Part 1

Cards are beautiful, but there comes a time when they get filed away with the rest. A solution; a card that functions both as a sentiment of your love and a useful, always essential coaster.

In felt, choose your two base colors ( I used blue and brown). Cut a 4x4 in. square from each color. Set brown square aside.
Using the zigzag stitch setting on your sewing machine, sew white craft ribbon on to blue base square.


Cut out felt shapes in the likeness of flowers, circles and leaves. (You can use the Fiskars XL poppy punch as a template for flower.)

Arrange felt shapes on to blue base.
Attach darning plate on to your sewing machine (or lower feed dogs).Thread your machine with multi colored metallic thread. *Using a darning plate allows you to move your fabric in any direction.
Sew around the edges of all felt shapes. The goal is to get all edges sewn down.
Use pinking shears to add a decorative edge.
Cut a 5.5 x 8in. rectangle from cardstock in a color that complements your coaster.
I added a text box, rounding edges with fiskars rounding punch. I placed the text box under coaster.
Use double stick tape to tack coaster and text box to cardstock. Write message and give to Mom!

Saturday, August 7, 2010

Curtain vest and true blood inspiration


I had some leftover faux silk from the curtains I made months ago--so in the "Sound of Music" style, I decided to fashion couture from the curtains. I cut the vest pieces last night. Usually when I start a sewing project, I move at a snails pace, but for whatever reason, I woke up ready to sew.
I must note that I got this vest pattern at the goodwill--hence, it was used. When I pick up patterns at the thrift, I don't think to check to make sure everything is there. Well fortunately all the pattern pieces are there, but no english instructions--ONLY FRENCH. Quoi? This really shouldn't be a prob for me because I studied french for 5 years, RIGHT? We won't mention how I was at the bottom of the class 4 of those 5.
Luckily, there were plenty of pics to guide me along. Things went fairly smooth. I'm actually looking forward to making another vest. I def. need the size upped and am thinking about a ruffle color and buttons.
**On my down time from the sewing machine, I created this little polymer clay pin to show my love for the show 'true blood'. OHHH! I can wear it on my vest! I love how my subconscious thinks.

Tuesday, August 3, 2010

Completed shorts and a sketch

I finished the shorts! The zipper got me a little down. I had to look over some zipper how to's. After an hour, I finally got the gist of it. Geez! The rest of the pattern was a breeze. I think I would make this pattern again, but lower the waist. At first I thought the 80's high waist might be interesting, but turns out it just doesn't feel "right". So, with shorts completed, I had enough time to sketch a portrait. It turned out alright. I'm happy with both projects--SUCCESS!

Monday, August 2, 2010

Sketches

These hot days are for staying inside. The humidity laden heat in this area is not kind to a desert rat like myself. While passing the time in the air conditioning, i've been sketching. I like to do portraits of people. My biggest emphasis has been on trying to capture a lively look in the eyes. Drawing eyes is very hard for me. I've actually gotten a little frustrated with my drawing not coming out to my standards, that i've but them to the side right now and am starting on a sewing project. I'm hoping that my sewing project will alleviate my frustration--that's the hope.