
Showing posts with label pin. Show all posts
Showing posts with label pin. Show all posts
Wednesday, January 29, 2014
Heart Monster
The Heart Monster is back! I made this cute guy last year and was so in love with his design that I decided to bring him back for this years Valentine's day. The heart monster is so easy to make that if you're a beginner with polymer clay, no probs...this is a craft for you. If you want the written to directions to the tutorial click link here. However, this year I have made a visual of the tutorial. Enjoy your little heart monster because no matter who or WHAT you are, everyone needs a lil' love.


Wednesday, May 30, 2012
Jason Cooper Pin
At the age of 14, I had a crush on the drummer from The Cure- Jason Cooper. I did the typical, posting his picture in my locker and on my notebooks, telling my friends to call me the future Mrs. Cooper. As I grew older, my crush for JC turned in to more of an admiration of. Admiration for his success in life, his hard work, his adventures...as a cool person. So, together with another, I helped to dedicate a facebook page to Jason Cooper. The FB page has to date, 50 members...and growing. As a way to say thank you to those supporting me and The Great JC, I put together a pin one can wear to show their support. Minimal in design, I used masonary nails, bronze wire and gold embossing powder to make the following:

 I am offering the pins for free (one only needs to cover shipping).


Saturday, April 23, 2011
Pin I Love
I have an obsession of making pins. I see them as little works of art one can wear to add a little something more to their outfit--like sprinkles on a cupcake. I'm including pics of few pins i've put together for fun.
This pin was for breast cancer awareness. This was not the first pin drafted, as the original was deemed, "too racy".
The Original, in all it's nippled glory.
The kiss design was made in homage to my favorite band of all time, The Cure. Lead singer Robert Smith is known for his signiture red lips, therefore; I thought it a great idea to represent them. On one set of lips (the pair on rob's mouth) you can note a small variation. These lips were molded to simliar artwork drawn on The Cure's, "Just Like Heaven" album single.


Last, the eye. A fellow Cure fan had mentioned she was looking for a necklace that had a "sort of third eye." This is my representation of her idea, in pin form. I added fine, red vein detail with fibers off a piece of red felt. I glossed the entire eye over with a clear embossing powder. *All items pictured are made from polymer clay.

This pin was for breast cancer awareness. This was not the first pin drafted, as the original was deemed, "too racy".

The Original, in all it's nippled glory.

The kiss design was made in homage to my favorite band of all time, The Cure. Lead singer Robert Smith is known for his signiture red lips, therefore; I thought it a great idea to represent them. On one set of lips (the pair on rob's mouth) you can note a small variation. These lips were molded to simliar artwork drawn on The Cure's, "Just Like Heaven" album single.


Last, the eye. A fellow Cure fan had mentioned she was looking for a necklace that had a "sort of third eye." This is my representation of her idea, in pin form. I added fine, red vein detail with fibers off a piece of red felt. I glossed the entire eye over with a clear embossing powder. *All items pictured are made from polymer clay.

Sunday, April 10, 2011
Wearing School Spirit-Part 2
School spirit runs strong in the small town I live in. So, when I noticed my athletic wear was hardly communicating, "Number #1 Fan", I knew I had a problem. I could have gone and purchased another carbon copy tee, but that's no fun. I wanted something that conveyed MY spirit for the school. And, that is why I decided to fashion my own "trendy" headband.
The headband would need to cover the three elements: sass, spirit and SEQUINS. As I began to design, I realized I could add one more element- the switcheroo. Yep, at some point even the most dedicated fanatics return to their civilian lives. Hence, the creation of the school spirit handband...cover.

This project is a quick DIY and very kiddo friendly. You take your standard, plain headband and measure it from end to end. I used a 1/4 in. width headband, but you could make a cover for almost any width headband. Once you have your measurements, add your seam allowances (a quarter inch to the width, and a half inch to the length). Transfer new adjustmest to colored felt and use your Fiskars scissors to cut the pattern out.
You will notice from the pictures below that I included a small pocket at one end of the cover (this is to keep the headband in place during wear).
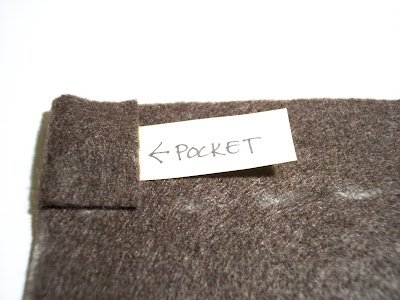

Glue remaining edges (excluding the pocket side). I used fabric paint to write with and my Fiskars fingertip tweezers made adding sequins a breeze.

The covers slip on and off easily. You can make matching covers for your friends and family or make covers to match your outfits, there are endless possibilities. One of the better options is wearing the cover alone! Once you cross the ends and safety pin the middle, you have a great spirit pin!
The headband would need to cover the three elements: sass, spirit and SEQUINS. As I began to design, I realized I could add one more element- the switcheroo. Yep, at some point even the most dedicated fanatics return to their civilian lives. Hence, the creation of the school spirit handband...cover.


This project is a quick DIY and very kiddo friendly. You take your standard, plain headband and measure it from end to end. I used a 1/4 in. width headband, but you could make a cover for almost any width headband. Once you have your measurements, add your seam allowances (a quarter inch to the width, and a half inch to the length). Transfer new adjustmest to colored felt and use your Fiskars scissors to cut the pattern out.

You will notice from the pictures below that I included a small pocket at one end of the cover (this is to keep the headband in place during wear).

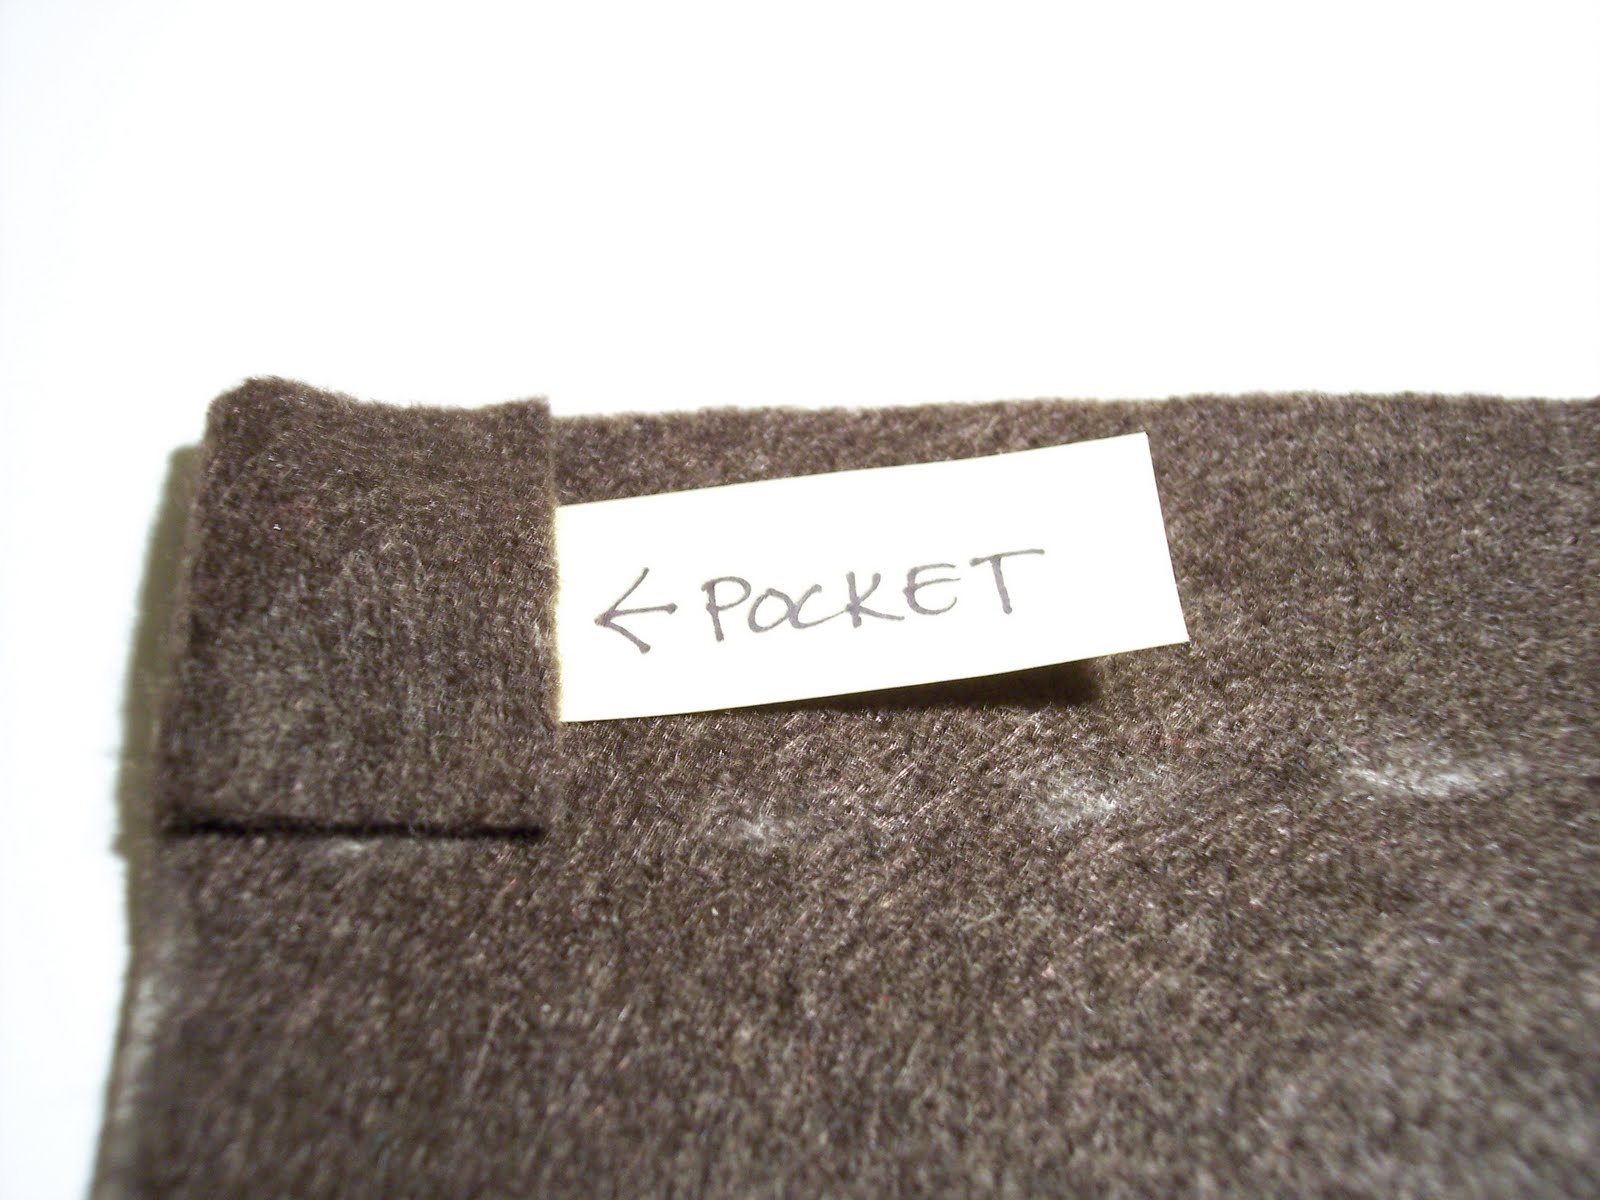

Glue remaining edges (excluding the pocket side). I used fabric paint to write with and my Fiskars fingertip tweezers made adding sequins a breeze.


The covers slip on and off easily. You can make matching covers for your friends and family or make covers to match your outfits, there are endless possibilities. One of the better options is wearing the cover alone! Once you cross the ends and safety pin the middle, you have a great spirit pin!

Saturday, August 7, 2010
Curtain vest and true blood inspiration

I had some leftover faux silk from the curtains I made months ago--so in the "Sound of Music" style, I decided to fashion couture from the curtains. I cut the vest pieces last night. Usually when I start a sewing project, I move at a snails pace, but for whatever reason, I woke up ready to sew.
I must note that I got this vest pattern at the goodwill--hence, it was used. When I pick up patterns at the thrift, I don't think to check to make sure everything is there. Well fortunately all the pattern pieces are there, but no english instructions--ONLY FRENCH. Quoi? This really shouldn't be a prob for me because I studied french for 5 years, RIGHT? We won't mention how I was at the bottom of the class 4 of those 5.
Luckily, there were plenty of pics to guide me along. Things went fairly smooth. I'm actually looking forward to making another vest. I def. need the size upped and am thinking about a ruffle color and buttons.

**On my down time from the sewing machine, I created this little polymer clay pin to show my love for the show 'true blood'. OHHH! I can wear it on my vest! I love how my subconscious thinks.

Subscribe to:
Posts (Atom)