I had a pair of white, canvas Keds. With natural wear the shoes began to get dirty and dingy. I didn't want to buy a new pair of white sneaks-- but I really missed their bright, clean look. I tried a little bleach on the shoes, hoping to whiten them up. The bleach ended up making matters worse because it stained the shoes with yellow splotches. Frustrated, I put the shoes to the side and kinda forgot about them. Their existence would enter my mind during my typical stroll thru Michael's Craft Store. While looking amongst the clearance items, I came across a HUGE bottle of orchid colored glitter. Thus, the idea of glitter covered shoes was born!
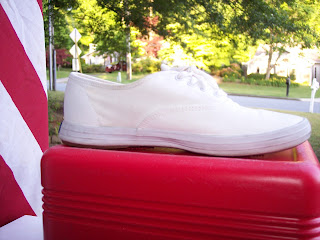 |
| Old, dingy white canvas sneaker |
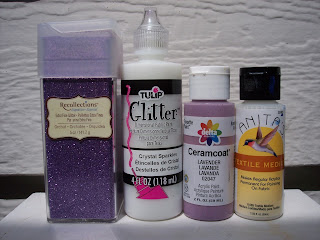 |
| Supplies! ...and of course a paint brush |
 |
| Mixing textile medium and acrylic paint in similar color as glitter, apply your newly made fabric paint to areas of high friction. |
 |
| Paint thin coat of Tulip glitter fabric paint on to shoe (excluding tongue). Apply first layer of glitter |
 |
| Second coat of glitter, applied same as first. Once dry, seal with third coat Tulip glitter paint, only. Paint and glitter is easily scraped off shoe eyelets with finger nail. |
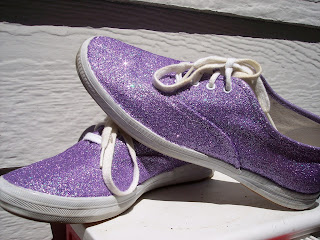 |
I'm ready to have my Wizard of Oz moment, in my new ORCHID slippers!
|
I realize I could have made this whole process easier if I would have purchased a purple fabric paint, but (excluding the glitter) I was trying to be thrifty and use the stuff I had on hand. I get creative when it comes to keeping cost down. The cost breakdown: $2.99 plus tax, for glitter. All other supplies were remnants from previous craft endeavors.
Oh yeah...if you're doing this craft indoors, make sure the house fan is off. Not that I mind the fine dusting of glitter all over everything, but; it becomes a bit troublesome when you're unable to clean it from the nose wrinkle of a pug.


